Some Fake Tilt Shift Photoshops
I think I've finally got the technique for performing fake tilt shifts in Gimp. The fake tilt shift technique can make an aerial photograph of a city or a landscape look as though it was a miniature, like a photograph of a detailed train set. You're effectively simulating in Gimp the narrow depth of field of a macro lens photograph.
Here are four photos I doctored in Gimp:
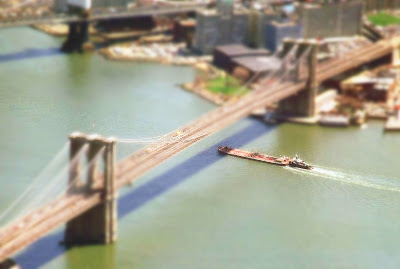 Brooklyn Bridge, New York
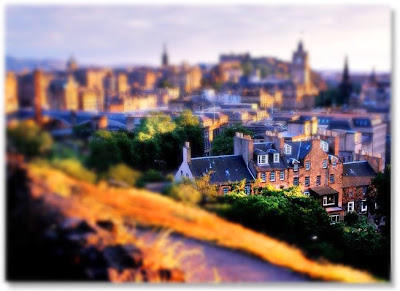 Edinburgh Castle, Scotland
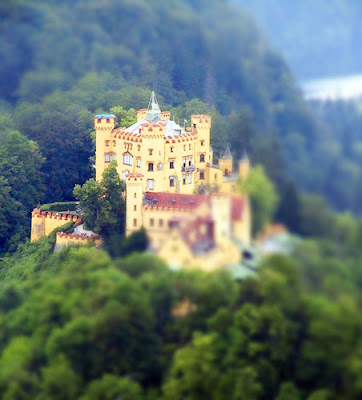 Hohenschwangau, Germany
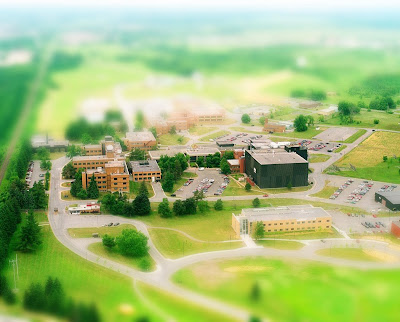 Shirley Bay Campus, Ottawa
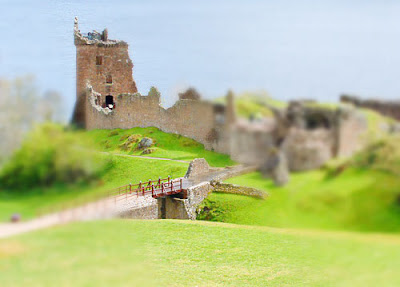 Castle Urquhart, Scotland
There are lots of instructions on the web for how to do this technique using Photoshop, but it's a little different in Gimp. Here are the steps I used:
- Find a good photo. The photo should be an aerial shot, but not too far away. Something from a helicopter looks best.
- The lighting in the photo looks best when it's late afternoon light and the shadows are long.
- Turn on quick mask (Select->Toggle Quick Mask, or shift-Q).
- Use the Blend/Gradient tool to drag a gradient across the top part of the photograph. The gradient will be used to mask off (blur out) the detail in the top portion of the photo.
- Save this gradient mask to a channel (Select->Save to Channel).
- Use the gradient took to repeat this step for the bottom of the photo. You will have to turn on the view of the second quick mask in the channel tab (they eyeball icon is not on by default on the second mask).
- Once you have two gradients (one will be red, the other black) you are ready to perform the selection.
- Click on the first mask channel in the channel tab, right click and choose "Channel to Selection".
- Click on the second mask channel in the channel tab, right click and choose "Intersect with Selection".
- Now click both eyeball icons on the channel masks to remove them from view.
- Click on the original layer, called "Background", in the layer tab.
- Invert the selection (Select->Invert).
- Perform a Gaussian Blur (Filters->Blur->Gaussian Blur). I choose a radius from 15 to 30, depending on the size of the photo.
- Remove the selection (Select->None).
- Use the Curves tool to drag the curve up to increase brightness and saturation. The curve should look like a shoulder, not like a J. Play with it until it looks right. (Colors->Curves)
- Finally, increase the saturation a bit to make the scene look plasticky. (Colors->Hue-Saturation).


